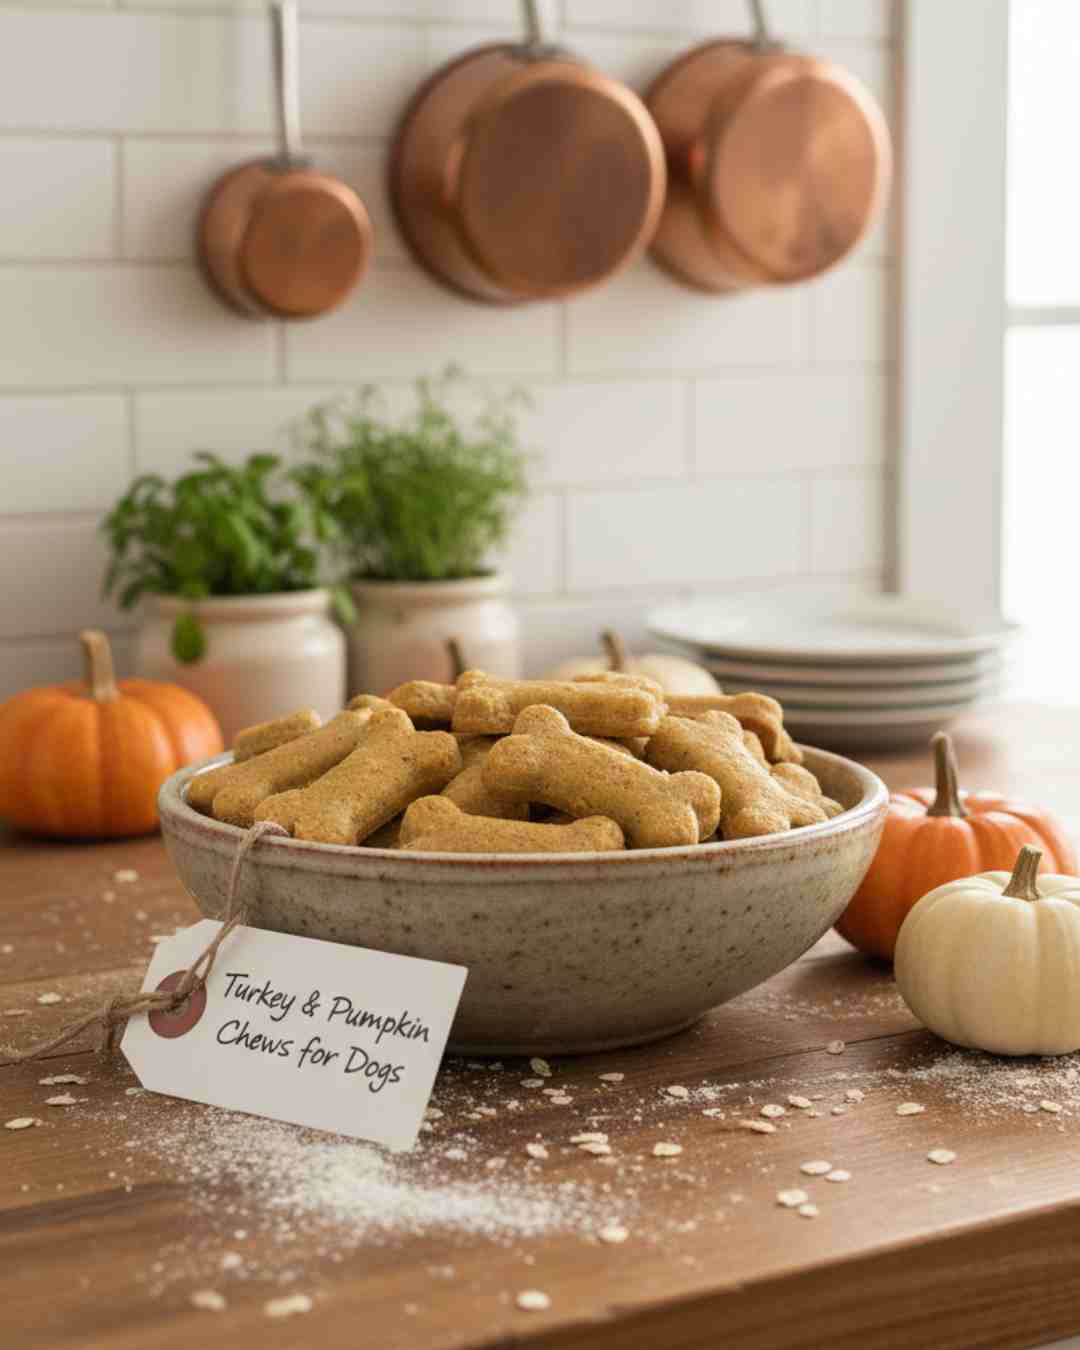
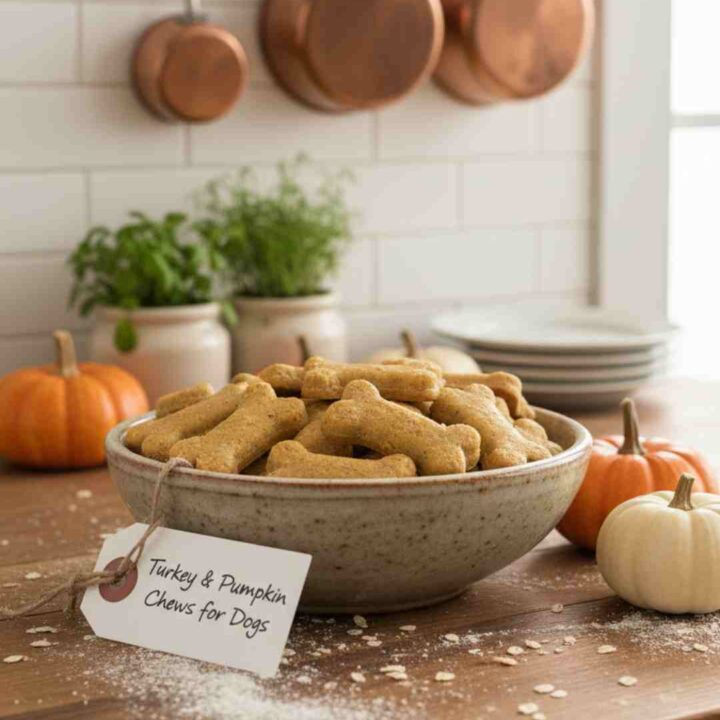
Turkey and Pumpkin Chews for Dogs
Turkey and Pumpkin Chews for Dogs are the ultimate homemade treat your pup will love! If dogs could search the internet, this recipe would be at the top of their list—savory turkey, sweet pumpkin, and a chewy texture that makes tails wag. Lucky for you (and them), these chews are super easy to make, budget-friendly, and healthier than anything you’ll find in a bag at the pet store.
Why You’ll Love These Turkey and Pumpkin Chews for Dogs
There are about a million reasons to adore this recipe, but let’s keep it to the highlights:
- Simple ingredients: No preservatives, no mystery additives.
- Nutrient-packed: Turkey provides lean protein, while pumpkin adds fiber and vitamins.
- Budget-friendly: Homemade is always cheaper than boutique pet treats.
- Customizable: You can easily swap ingredients based on allergies or preferences.
- Perfect for training: Soft texture makes them easy to break into smaller bites.
- Tail-wag guarantee: Dogs genuinely love this combo—ask any pup taste-tester.
So whether you’re spoiling your senior dog with something easy to chew or giving your puppy a wholesome snack, these treats hit the sweet spot.
Ingredients & Equipment
Ingredients You’ll Need
While this recipe works well for many pups, every dog is unique. To keep your dog safe and healthy, consult your veterinarian before adding new ingredients or changing your dog’s regular meals.
- 1 cup lean ground turkey (cooked and cooled)
- ¾ cup pure pumpkin puree (no pie filling, please!)
- 1 cup whole wheat flour (or oat flour if gluten-free)
- ½ cup rolled oats
- 1 large egg (acts like glue for your dough)
- Optional: a sprinkle of fresh parsley for fresher puppy kisses
- Tools You’ll Need
- A large mixing bowl
- A spoon or spatula
- A rolling pin (wine bottle = perfect substitute )
- A baking sheet lined with parchment paper
- Cookie cutters (bone or paw-shaped = maximum cuteness, but any shape works)
Step-by-Step Instructions
Making these chews is easier than teaching your dog “sit.” Follow these steps:
Step 1: Preheat & Prepare
Turn on your oven to 325°F (160°C). Line your baking sheet with parchment paper. This keeps the chews from sticking and makes cleanup as quick as a tail wag.
Step 2: Cook the Turkey
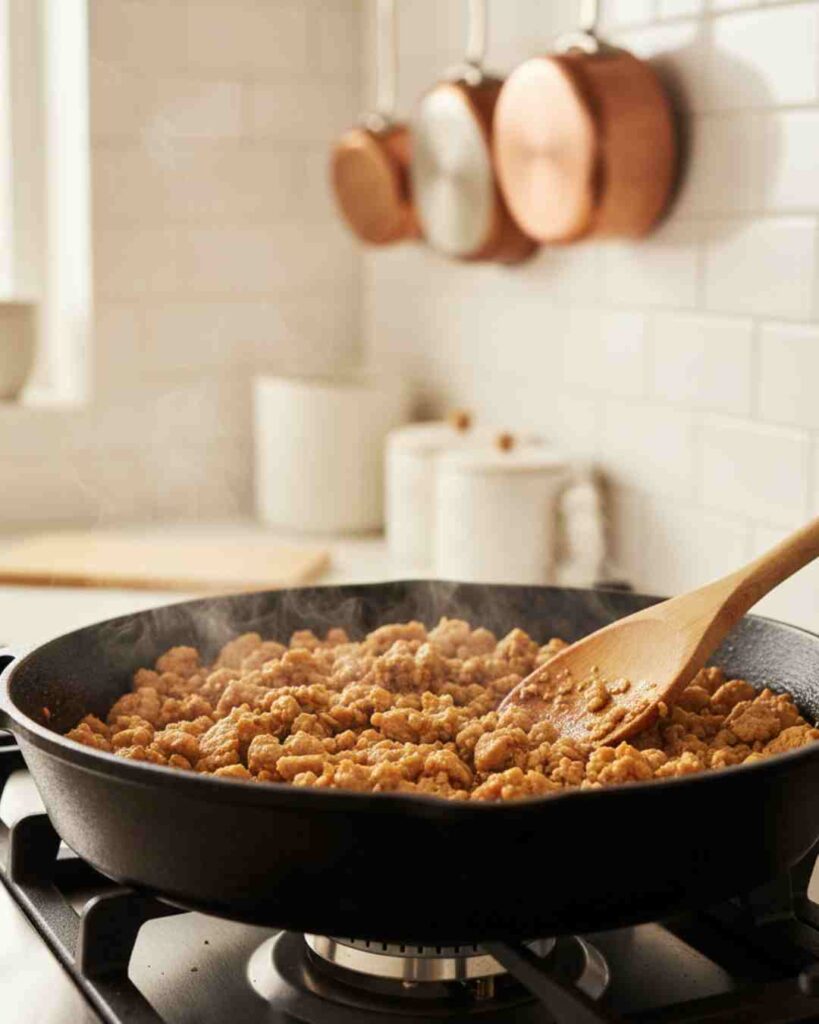
Start with lean ground turkey. Cook it thoroughly in a skillet until no pink remains. Drain any excess fat and let it cool slightly. This step is essential—raw turkey can contain bacteria that aren’t good for pups.
Step 3: Mix the Wet Ingredients
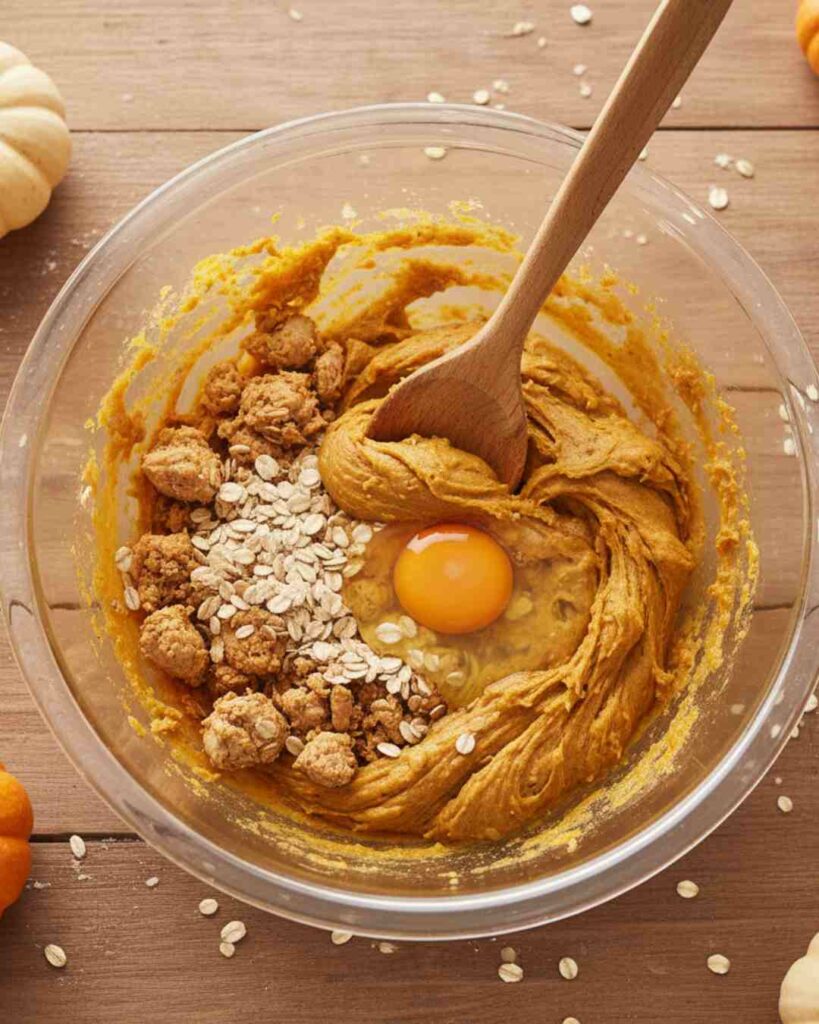
In your mixing bowl, combine the pumpkin puree, egg, and cooked turkey. Stir until it forms a smooth, slightly chunky mixture. Think of it like the base for a savory pumpkin pie filling.
Step 4: Add the Dry Ingredients
Sprinkle in the flour and oats gradually. Stir after each addition. By the end, you should have a soft dough that’s a little sticky but manageable. If it’s too wet, add more flour; too dry, add a splash of water.
Step 5: Roll the Dough
Lightly flour your counter or board. Roll the dough out to about ¼ inch thick. This ensures the chews bake evenly. Pro tip: keep the rolling pin dusted with flour so it doesn’t stick.
Step 6: Cut Your Shapes
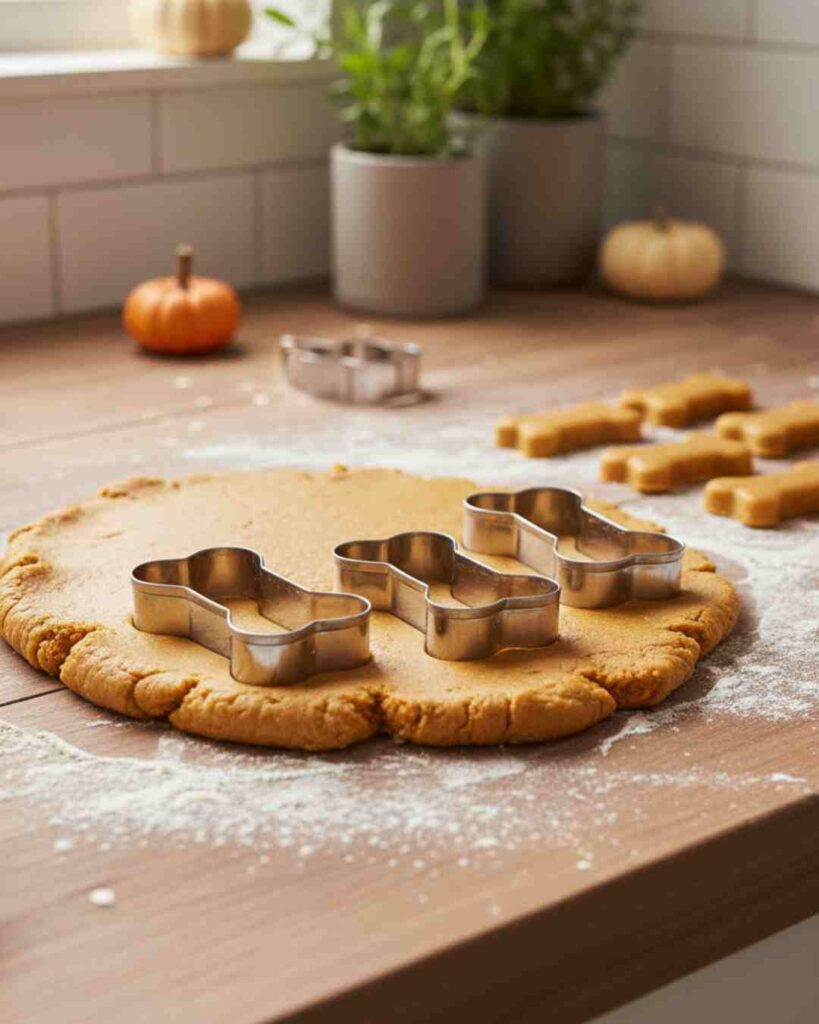
Here’s the fun part! Use cookie cutters to make bones, paws, or hearts. Don’t have cutters? Slice the dough into bite-sized squares. Your dog won’t complain about the shape—promise.
Step 7: Arrange on Baking Sheet
Place the cutouts onto your prepared baking sheet, leaving a little space between them. They don’t spread much, but airflow helps them bake evenly.
Step 8: Bake Until Chewy
Slide the tray into the oven and bake for 30–35 minutes. The edges should look slightly golden, and the chews should be firm but not rock-hard.
Step 9: Cool Completely
This is the hardest part—for both you and your dog. Let the treats cool completely on the tray or a wire rack before serving. Hot treats = burned tongues (and sad pups).
Step 10: Optional Extra-Chew Step
Want a firmer, chewier texture? Once baking is done, turn off the oven and leave the tray inside for another 10–15 minutes. It’s like giving the chews a little spa session in the oven.
Taste, Texture & Baking Tips
- For extra chewy treats, reduce bake time to 25 minutes and store in the fridge.
- For crunchier bites, extend baking to 40 minutes until the edges crisp up.
- Don’t overcrowd the tray—give each treat its own little baking space.
- Pumpkin too runny? Add oats. Dough too stiff? Add a splash of water.
Remember: dogs aren’t food critics. As long as it smells meaty, they’re in.
Substitutions & Variations
No turkey on hand? No problem! Here are pup-safe swaps:
- Meat: Use cooked ground chicken or beef.
- Flour: Oat, brown rice, or chickpea flour for gluten-free.
- Add-ins: Shredded carrots, sweet potato mash, or apple (no seeds).
- Breath fresheners: A pinch of dried mint or parsley.
- Seasonal twist: A dash of cinnamon (safe for dogs, unlike nutmeg).
❌ Avoid unsafe foods: onions, garlic, raisins, grapes, chocolate, or xylitol.
Storage & Shelf Life of Turkey and Pumpkin Chews for Dogs
Homemade treats don’t have preservatives, so storage matters:
- On the counter: In an airtight container, they’ll last up to 3 days.
- In the fridge: Store 7–10 days. They’ll stay soft and chewy.
- In the freezer: Freeze for up to 2 months. Thaw overnight in the fridge.
Pro tip: Freeze in small batches so you can thaw just what you need—fresh chews, all the time!
Understood. Adding internal links is a crucial strategy to guide your readers to other relevant content, keep them on your site longer, and build topical authority for SEO.
Since you didn’t specify an article, I will take the last one we reviewed—the excellent “Turkey and Pumpkin Chews for Dogs”—and demonstrate how to add strategic internal links to other articles we’ve discussed.
The Importance of Internal Linking (Quickly)
- User Experience: It helps readers who enjoyed one recipe easily discover another they might love.
- SEO: It helps search engines understand your site’s structure and see that you are an authority on a topic (like “homemade dog treats”).
- Time on Site: It keeps people clicking and reading, which are positive signals that your site is a valuable resource.
Revised Article with Internal Links
Here is the revised article. I have bolded the new text containing the internal links so you can see exactly where they were added and why.
The Ultimate Turkey and Pumpkin Chews for Dogs
Turkey and Pumpkin Chews for Dogs are the ultimate homemade treat your pup will love! If dogs could search the internet, this recipe would be at the top of their list—savory turkey, sweet pumpkin, and a chewy texture that makes tails wag. Lucky for you (and them), these chews are super easy to make and healthier than anything you’ll find at the pet store.
Why You’ll Love These Treats
- Simple ingredients: No preservatives or mystery additives.
- Nutrient-packed: Turkey provides lean protein, while pumpkin adds fiber.
- Budget-friendly: Homemade is always cheaper.
- Customizable: You can easily swap ingredients.
- Perfect for training: Soft texture makes them easy to break into smaller bites.
- Tail-wag guarantee: Dogs genuinely love this combo.
Ingredients & Equipment
Ingredients You’ll Need
- 1 cup lean ground turkey (cooked and cooled)
- ¾ cup pure pumpkin puree (no pie filling!)
- 1 cup whole wheat flour
- ½ cup rolled oats
- 1 large egg
- Optional: a sprinkle of fresh parsley
Tools You’ll Need A large mixing bowl, a rolling pin, and a baking sheet lined with parchment paper.
Step-by-Step Instructions
- Preheat & Prepare: Turn on your oven to 325°F (160°C). Line your baking sheet.
- Cook the Turkey: Cook lean ground turkey in a skillet until no pink remains. Drain any excess fat and let it cool.
- Mix the Wet Ingredients: In a mixing bowl, combine the pumpkin puree, egg, and cooked turkey.
- Add the Dry Ingredients: Sprinkle in the flour and oats. Stir until you have a soft, manageable dough.
- Roll the Dough to about ¼ inch thick.
- Cut Your Shapes with cookie cutters or a knife.
- Arrange on Baking Sheet with a little space between them.
- Bake Until Chewy for 30–35 minutes.
- Cool Completely on a wire rack before serving.
- Optional Extra-Chew Step: Turn off the oven and leave the tray inside for another 10–15 minutes to dry them out.
Substitutions & Variations
- Meat: Use cooked ground chicken or beef.
- Flour: Oat, brown rice, or chickpea flour for gluten-free.
- Add-ins: Shredded carrots or sweet potato mash.
- Breath fresheners: A pinch of dried mint or parsley.
- Seasonal twist: A dash of cinnamon. If your dog loves the pumpkin and oat combination, they’ll also go crazy for these 3-Ingredient Pumpkin Banana Cookies.
Storage & Shelf Life
- On the counter: Up to 3 days in an airtight container.
- In the fridge: 7–10 days.
- In the freezer: Up to 2 months.
FAQ
Q: Can I use canned pumpkin pie filling instead of puree? A: Nope! Pumpkin pie filling has sugar and spices that aren’t safe for dogs. Always use pure pumpkin.
Q: Are these okay for puppies? A: Yes, as long as they’re old enough to eat solids. Just cut the treats into tiny bites.
Q: How many treats per day? A: Treats should be no more than 10% of your dog’s daily calories.
More Homemade Dog Treats Your Pup Will Love
- Bacon Cheese Dog Treats Recipe – Quick, Crunchy & Dog-Approved(For when your dog has been an extra good boy)
- apple and banana dog treats recipe
- Dog Birthday Cupcakes (Peanut Butter Pupcakes Your Pup Will Love!)
Frequently Asked Questions (FAQ)
Q: Can I use canned pumpkin pie filling instead of puree?
A: Nope! Pumpkin pie filling has sugar and spices that aren’t safe for dogs. Always use pure pumpkin.
Q: Are these okay for puppies?
A: Yes, as long as they’re old enough to eat solids. Just cut the treats into tiny bites for their small mouths.
Q: Can I make them grain-free?
A: Definitely! Try chickpea flour or coconut flour instead of wheat flour.
Q: Do I need to cook the turkey first?
A: Yes—always cook meat before adding it to dog treats. Safety first.
Q: How many treats per day?
A: Treats should be no more than 10% of your dog’s daily calories. Moderation is key, even if they’re giving you the puppy-dog eyes.
Common Mistakes to Avoid
- Accidentally grabbing pumpkin pie filling instead of puree.
- Overbaking until the treats are basically bricks.
- Using unsafe flours like almond (too fatty for dogs).
- Forgetting to let treats cool before serving.
- Adding too many herbs—dogs need just a pinch, not a salad.
Nutritional Information (Approx. per Treat)
(Based on 24 treats per batch)
- Calories: 38
- Protein: 3g
- Fat: 1.2g
- Fiber: 1g
- Carbs: 5g
These numbers will vary depending on the size and substitutions.
Final Thoughts
And there you have it—homemade Turkey & Pumpkin Chews that will make your dog happier than a belly rub marathon. They’re nutritious, easy to make, and way better than those expensive store-bought bags.
Whether you’re training, treating, or just spoiling your pup, these chews are sure to get tails wagging. So, roll out that dough, cut some cute shapes, and let your dog be the ultimate taste tester.
Oh, and don’t forget to snap a pic of your pup mid-chew—Pinterest and Instagram were basically invented for this
Turkey and Pumpkin Chews for Dogs
Ingredients
- 1 pound lean ground turkey (cooked and cooled)
- 1 cup pumpkin puree (unsweetened, not pumpkin pie filling)
- 1 large egg
- 2 cups whole wheat flour (plus extra if dough is sticky)
- ½ cup rolled oats
- Water as needed (to adjust dough texture)
Instructions
- Preheat oven to 325°F (160°C). Line a baking sheet with parchment paper.
- Cook turkey in a skillet over medium heat until no pink remains. Drain excess fat and let cool.
- Mix wet ingredients: In a large bowl, combine pumpkin puree, egg, and cooled turkey.
- Add dry ingredients: Stir in flour and oats gradually until a soft, workable dough forms.
- Roll dough on a lightly floured surface to about ¼-inch thick.
- Cut into shapes with cookie cutters (bones, paws, or squares).
- Arrange on baking sheet with space between each chew.
- Bake for 30–35 minutes, until edges are golden and firm.
- Cool completely on a wire rack before serving to your dog.
Notes
- Storage: Store in an airtight container for up to 1 week at room temperature or freeze for up to 3 months.
- Substitutions: Use brown rice flour or oat flour for dogs sensitive to wheat.
- Common mistake: Don’t skip cooling—hot treats can burn your dog’s mouth.
- Extra chewy option: After baking, turn off the oven and leave the treats inside for 10–15 minutes.
Nutrition Information:
Yield: 24 treatsAmount Per Serving: Calories: 70Total Fat: 2.5gCarbohydrates: 8gFiber: 1.5gSugar: 1gProtein: 5g